Install Puppet DB
-
Install Puppet DB
sudo yum install puppetdb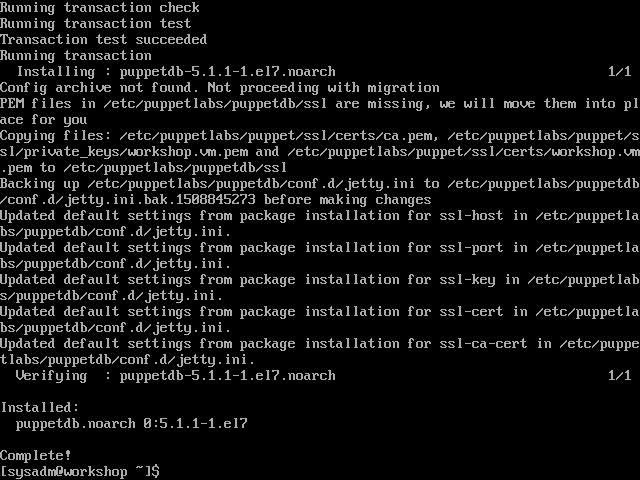
- Create the ‘puppetdb’ PostgreSQL user and database
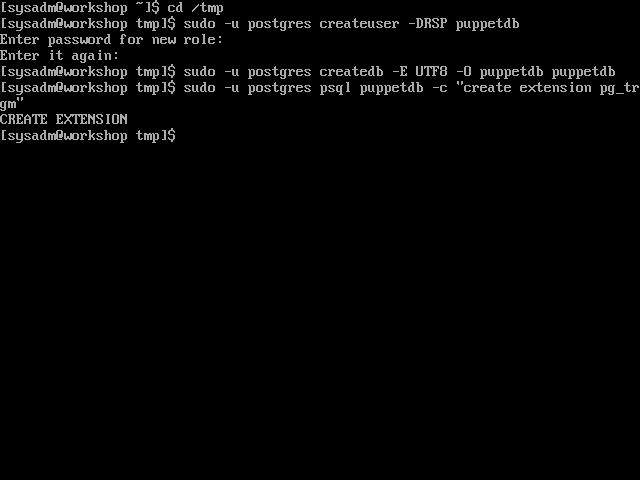
- When we ‘sudo’ to ‘postgres’ in the commands below, it’s going to try to read the current working directory as the ‘postgres’ user. The ‘postgres’ user doesn’t have access to ‘/home/sysadm’, so to avoid ‘permission denied’ errors, change directory to ‘/tmp’.
cd /tmp - Create the ‘puppetdb’ user. You will be prompted for a password. Choose your own, just make sure it matches the one you set in ‘/etc/puppetlabs/puppetdb/conf.d/database.ini’ later. This example uses ‘p@ssw0rd’.
sudo -u postgres createuser -DRSP puppetdb - Create the ‘puppetdb’ database
sudo -u postgres createdb -E UTF8 -O puppetdb puppetdb - Enable the ‘pg_trgm’ extension on the ‘puppetdb’ database
sudo -u postgres psql puppetdb -c "create extension pg_trgm"
- When we ‘sudo’ to ‘postgres’ in the commands below, it’s going to try to read the current working directory as the ‘postgres’ user. The ‘postgres’ user doesn’t have access to ‘/home/sysadm’, so to avoid ‘permission denied’ errors, change directory to ‘/tmp’.
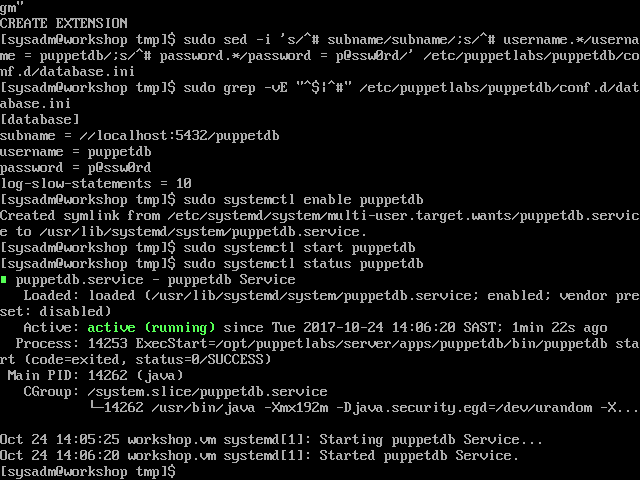
- Set PuppetDB to connect to the new database
sudo sed -i 's/^# subname/subname/;s/^# username.*/username = puppetdb/;s/^# password.*/password = p@ssw0rd/' /etc/puppetlabs/puppetdb/conf.d/database.ini
- (Optional) In production you may want to increase PuppetDB’s JVM heap size. Here we set it to 1GB.
sudo sed -ri 's/^(JAVA_ARGS="-Xmx).*"/\11g"/' /etc/sysconfig/puppetdb -
Enable and start the service
sudo systemctl enable puppetdb
sudo systemctl start puppetdb